
How to Clean a Robot Vacuum Brush Roller (Step-by-Step Guide)
Learn how to clean your robot vacuum brush roller step-by-step. Remove hair, wash rubber rollers, clear bearings, and extend the life of your device.
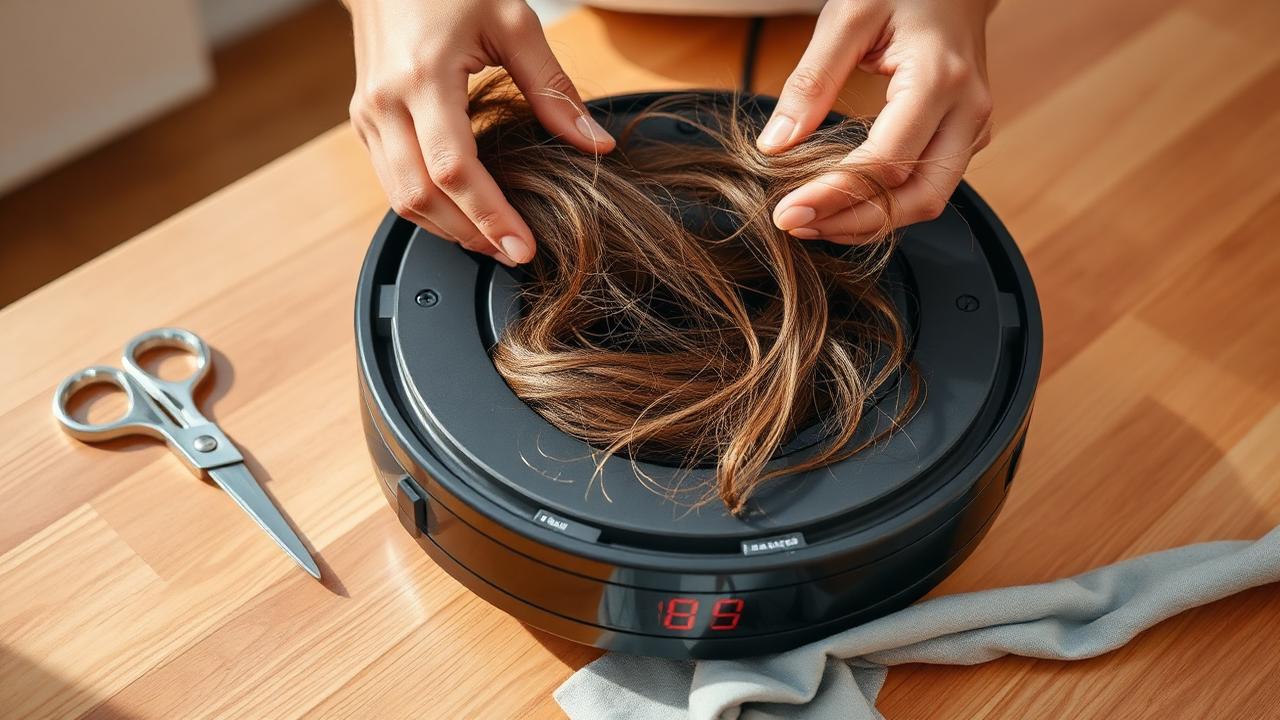
To clean a robot vacuum brush roller, turn off the vacuum, flip it over onto a soft surface, unclip the brush guard latch, and pull out the roller. Use a cleaning tool or scissors to slice tangled hair along the designated groove, remove the plastic end caps to pull out trapped lint from the bearings, wipe down the roller chamber, and reassemble once all parts are 100% dry.
Why Regular Brush Roller Cleaning Matters
Hair, carpet fibers, and fine dust continuously wrap around your robot vacuum's central extractor. When debris builds up, it increases mechanical resistance on the drive motor. This extra friction strains the battery, reduces runtime by up to 30%, leads to poor pickup on carpets, and can eventually melt plastic end caps or burn out the brush motor gearbox.
Tools and Supplies Needed
- Cleaning tool with blade: Most robot vacuums (like Roborock, Roomba, or Eufy) come with a small bird-beak cutter.
- Small scissors or seam ripper: For precision cutting of tightly wound pet hair.
- Microfiber cloth: For wiping the brush cavity and sensors.
- Warm water (under 40°C / 104°F): For rinsing all-rubber rollers.
- Mild dish soap (1-2 drops): Optional, for removing greasy kitchen residues.
- 70% Isopropyl alcohol: For cleaning metal axle pins and sanitizing.
Step-by-Step: How to Deep Clean a Robot Vacuum Brush Roller
Step 1: Power Down and Prep the Vacuum
Always shut down your robot vacuum using its physical power switch or by holding the power button for 3 to 5 seconds. Never work on the vacuum while it is on the charging dock or in standby mode. Place a microfiber towel or soft blanket on a flat table and set the robot upside down on top to prevent scratching the top lidar dome or glossy chassis.
Step 2: Remove the Brush Guard and Extractor
Locate the two release tabs on the brush guard (the plastic frame holding the roller in place). Squeeze the tabs inward and lift the guard away. Remove the main roller by lifting the non-driven end first, then sliding the square or hexagonal drive peg out of the motor socket.
Step 3: Disassemble the End Caps and Axle Bearings
Hair migrates into the ends of the roller where friction is highest. Gently pull off the removable plastic end caps from both sides of the roller shaft. On many models (including iRobot Roomba dual rollers and newer Roborock models), the axle bearings slide out entirely. Pull out the dense ring of wrapped hair that collects under these caps, then wipe the metal pin clean with a drop of 70% isopropyl alcohol.
Step 4: Cut and Remove Tangled Hair
Locate the guide groove running lengthwise along the roller core. Slide the hooked blade of your cleaning tool or the tip of a seam ripper along this groove underneath the tangled hair, cutting upward away from the roller body. Peel away the severed hair by hand. Avoid cutting directly into rubber squeegee fins or nylon bristles.
Step 5: Wash or Wipe the Roller
How you wash the roller depends entirely on its material construction:
- All-Rubber Rollers (e.g., Roomba Aeroforce, Roborock DuoRoller): Rinse directly under lukewarm tap water (under 40°C / 104°F). Rub stubborn dirt away with your thumb and a drop of dish soap. Shake off excess moisture.
- Bristle & Hybrid Rollers (e.g., Shark, Eufy, older Ecovacs): Avoid submerging bristle rollers in water, as water can become trapped inside the hollow core and rust internal metal springs. Instead, wipe the bristles and rubber blades with a damp microfiber cloth and use a dry comb to remove embedded grit.
Step 6: Clean the Roller Housing and Cavity
Before reinstalling the roller, use a handheld vacuum or dry microfiber cloth to clear the empty roller well. Wipe down the plastic dirt chute that leads into the dustbin. Inspect the small optical drop sensors and roller motor socket for accumulated lint.
Step 7: Dry Completely and Reassemble
If you rinsed a rubber roller with water, let it air dry completely in a well-ventilated area for at least 24 hours before reinstalling. Inserting a damp roller into your vacuum can pull moisture directly into the high-RPM suction fan, damaging electrical components. Once fully dry, reattach the end caps, slot the drive peg into the motor gear, seat the opposite end, and snap the brush guard back into place until you hear both latches click.
Brush Roller Cleaning & Maintenance Matrix
| Roller Type | Primary Material | Washing Method | Drying Time | Hair Tangling Tendency | Replacement Cycle |
|---|---|---|---|---|---|
| Multi-Surface Rubber | 100% Molded Silicone/Rubber | Rinse under warm tap water | 24 Hours | Low (collects mostly at ends) | 6–12 Months |
| Traditional Bristle | Nylon bristles on ABS plastic core | Dry comb & damp wipe only | 2–4 Hours (spot wipe) | High (hair weaves into bristles) | 3–6 Months |
| Hybrid Blade/Bristle | Alternating rubber fins & nylon tufts | Spot clean with damp cloth | 6–12 Hours | Medium-High | 6 Months |
| Self-Cleaning Fluffy | Microfiber velour | Hand wash in cool water | 24–48 Hours | Low | 6–12 Months |
Troubleshooting Common Brush Roller Problems
Error: 'Main Brush Stuck' or 'Brush Error'
If your vacuum stops mid-cycle with a brush stall warning, the cause is almost always hidden hair compressed inside the drive socket or behind the end caps. Remove the roller and use tweezers to inspect the square drive hole in the vacuum body; pet hair often compacts into a solid ring behind the drive gear.
Loud Squeaking or Grinding Noise
A high-pitched squeak indicates that friction is occurring between dry plastic end caps or axle pins. Clean all debris from the axle, ensure the bearings spin freely, and place one micro-drop of silicone lubricant (never WD-40 or cooking oil) on the metal axle pin before replacing the plastic cap.
Streak Marks or Uneven Carpet Lines
Check if the roller is seated evenly. If one side of the brush guard has not fully clicked into its locking tab, the roller will sit at an angle, leading to reduced suction seals and erratic floor contact.
Recommended Maintenance Schedule
- Every 1 to 2 weeks: Remove roller, pull off end caps, and slice away wrapped hair (weekly for homes with long-haired pets).
- Once a month: Deep-clean the roller cavity, wipe the drive socket, and rinse rubber components.
- Every 6 to 12 months: Replace the roller entirely. When rubber blades wear thin or bristles become frayed, carpet agitation drops significantly, leaving heavy debris behind.
Summary
Keeping your robot vacuum brush roller clean takes less than 5 minutes every two weeks and dramatically improves cleaning performance. By regularly clearing hair from the end caps and ensuring all parts are bone-dry before reassembly, you protect the motor, optimize battery life, and keep your floors consistently clean.
Cleneus is reader-supported. Pages carry display advertising and some outbound product links may earn us a commission, which never changes the methods we recommend. Read our disclosure.