
How to Clean Sticky Grease off Wooden Kitchen Cabinets
Learn how to clean sticky grease off wooden kitchen cabinets safely with proven degreasing methods, exact ratios, step-by-step instructions, and wood care tips.
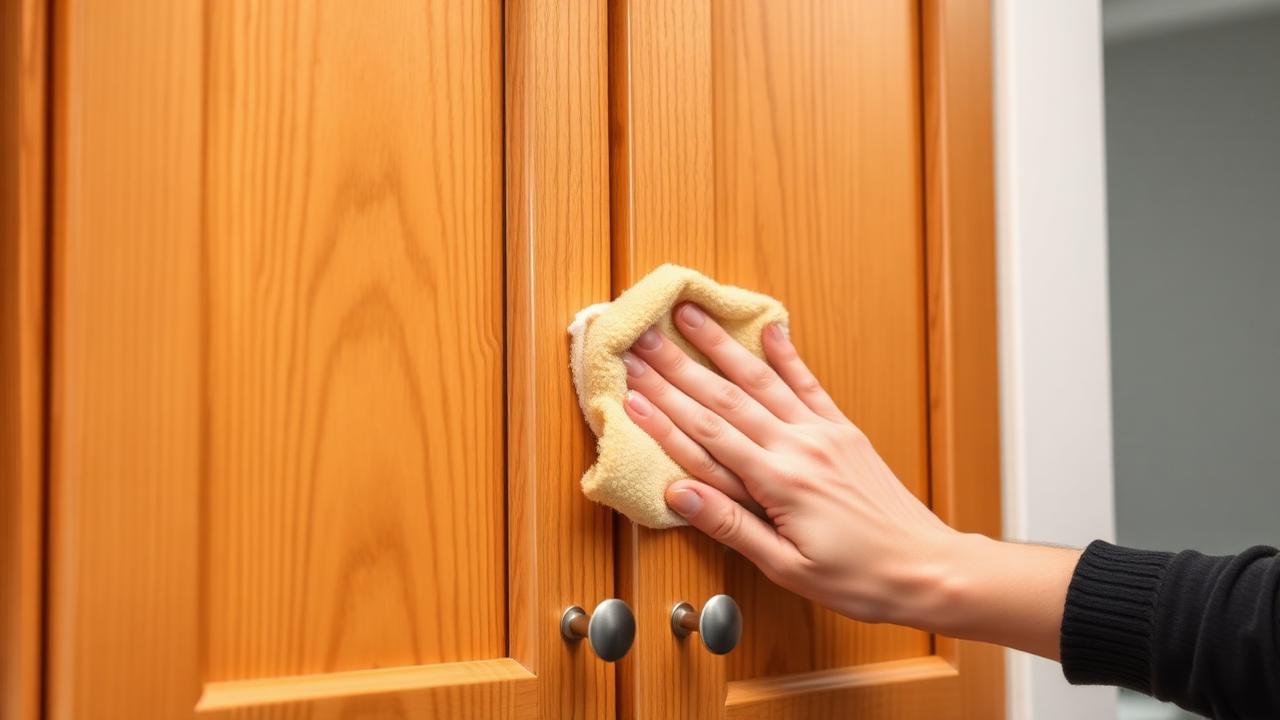
To clean sticky grease off wooden kitchen cabinets without damaging the finish, mix 1 quart of warm tap water (105°F to 115°F) with 1 tablespoon of concentrated degreasing dish soap, such as Dawn Platinum. Dip a soft microfiber cloth into the solution, wring it out until it is damp but not dripping, and gently scrub the cabinet surface in circular motions along the wood grain. For heavy, polymerized grease buildup, apply a 2:1 paste of baking soda and warm water or a 50/50 mix of warm water and 5% distilled white vinegar, let it sit for 3 to 5 minutes, wipe clean with a damp cloth, and dry immediately with a clean towel.
Why Kitchen Grease Becomes Sticky on Wood Cabinets
Cooking releases microscopic aerosolized oil droplets into the air. When these droplets settle on cabinet doors, drawer fronts, and crown molding, they combine with circulating household dust, pet dander, and steam. Over weeks and months, the heat and oxygen in the kitchen cause these lipids to oxidize and polymerize, turning a light coating of oil into a gummy, yellowed film.
Wood is a porous, hygroscopic material protected by clear coats like polyurethane, lacquer, conversion varnish, or oil-based sealants. Applying harsh industrial degreasers, excessive water, or abrasive pads can strip these protective topcoats, causing cloudiness, moisture warping, or permanent discoloration. Removing this grime requires surfactants and mild solvents that emulsify the grease without breaking down the underlying finish.
Essential Tools and Cleaning Supplies
- Concentrated liquid dish soap: Dawn Platinum or Palmolive Ultra (contains strong grease-cutting surfactants like sodium lauryl sulfate).
- Distilled white vinegar: 5% acidity for breaking down light grease and neutralizing odors.
- Baking soda (Sodium bicarbonate): A mild alkaline abrasive (Mohs hardness of 2.5) that will not scratch factory wood finishes.
- Murphy’s Oil Soap: Plant-based cleaner formulated specifically for finished wood surfaces.
- Odorless mineral spirits: A mild petroleum distillate solvent for heavy, decades-old polymerized grease on cured finishes.
- Microfiber cloths: At least 4 to 6 clean, lint-free towels (300+ GSM recommended).
- Soft-bristle detailing toothbrush: For routed edges, trim profiles, and around hardware hinges.
- Two wash basins or buckets: One for the cleaning solution and one for clean rinse water.
Method 1: The Dish Soap Degreasing Wash (Best for Light to Moderate Grease)
This is the safest daily or monthly maintenance method for finished, stained, and painted wooden cabinets.
Step 1: Mix the Degreasing Solution
Fill a basin with 1 quart (4 cups) of warm water heated to roughly 110°F. Add 1 tablespoon of concentrated liquid dish soap. Stir gently to dissolve the soap without creating excessive foam.
Step 2: Wipe Down the Cabinets
Submerge a microfiber cloth in the soapy water and wring it out thoroughly until barely damp. Standing water can seep into wood seams and cause veneer delamination or swelling. Wipe the cabinet surface using firm, overlapping strokes following the natural wood grain.
Step 3: Detail Trim and Hardware
Dip the soft-bristle toothbrush into the soapy water, shake off excess moisture, and gently clean around door handles, hinges, and decorative recessed grooves where grease collects.
Step 4: Rinse and Dry
Dampen a second clean microfiber cloth in clean, warm water and wipe down the cabinet to remove soap residue. Immediately buff the wood dry with a third, dry microfiber towel. Never allow cabinets to air-dry.
Method 2: The Vinegar-Dish Soap Solution (Best for Sticky, Tacky Residue)
Distilled white vinegar contains acetic acid, which breaks down the bonds of tacky oil deposits. Diluting it ensures the acid does not degrade clear-coat lacquers.
Step 1: Formulate the Mixture
In a spray bottle or small bucket, combine 2 cups of warm water, 2 cups of 5% distilled white vinegar, and 1 teaspoon of liquid dish soap. Shake or stir to blend.
Step 2: Controlled Application
Do not spray directly onto the wood, as liquid can run into panel joints. Instead, mist the solution onto a folded microfiber cloth until damp. Apply the cloth to the sticky areas and let the moisture sit on the surface for 2 minutes to soften the grease.
Step 3: Wipe and Neutralize
Rub the tacky spots with light pressure. The vinegar dissolves the acidic grease bonds while the dish soap encapsulates the oil. Rinse thoroughly with a fresh cloth dampened with plain water, then dry completely.
Method 3: Baking Soda Paste (Best for Thick, Caked-On Grease)
Baking soda provides gentle mechanical lift combined with mild alkalinity (pH ~8.3) to saponify localized grease patches near cooktops and range hoods.
Step 1: Make the Paste
Mix 1/2 cup of baking soda with 3 tablespoons of warm water and 1/2 teaspoon of dish soap in a small bowl until it reaches the consistency of smooth toothpaste.
Step 2: Spot-Apply to Grease Spots
Dab the paste onto the heavy grease buildup using your fingertips or a microfiber cloth. Allow it to sit on the greasy area for 3 to 5 minutes to penetrate the crust.
Step 3: Gentle Agitation and Removal
Rub the paste gently in circular motions using a damp microfiber cloth. Do not use stiff nylon scrub sponges or steel wool. Wipe away all baking soda paste with a clean, water-dampened cloth, checking carefully to ensure no powdery white residue remains in the grain. Dry thoroughly with a towel.
Method 4: Mineral Spirits (Best for Severe, Polymerized Grime)
When grease has sat for years and hardened into an amber lacquer-like crust, water-based cleaners may fail. Odorless mineral spirits dissolve hardened oils without dissolving cured polyurethane, varnish, or factory conversion coatings.
- Test first: Apply a drop of odorless mineral spirits to an inconspicuous area (such as the inside of a lower cabinet door) on a cotton swab. Wait 5 minutes to verify it does not soften or haze the finish.
- Application: Pour 1 tablespoon of mineral spirits onto a clean microfiber cloth.
- Rubbing: Gently wipe over the hardened grease. The mineral spirits will dissolve the polymerized lipids within 30 to 60 seconds.
- Cleanup: Follow immediately with a cloth dampened in warm soapy water to lift the residue, rinse with clean water, and wipe completely dry.
Grease Cleaner Comparison: Methods, Power, and Wood Safety
| Method / Cleaner | Grease Level | Preparation / Ratio | Dwell Time | Finish Safety |
|---|---|---|---|---|
| Dish Soap Solution | Light to Moderate | 1 tbsp soap to 1 qt warm water | None (wipe immediately) | Safe for all finishes and paints |
| Vinegar & Soap Mix | Moderate to Sticky | 1:1 warm water and 5% vinegar + 1 tsp soap | 2 minutes | Safe; avoid soaking bare/waxed wood |
| Baking Soda Paste | Heavy / Crusty | 2:1 baking soda to water + drops of soap | 3 to 5 minutes | Safe; use minimal friction on gloss |
| Murphy’s Oil Soap | Moderate Maintenance | 1/4 cup per 1 gallon warm water | 1 to 2 minutes | Excellent for stained and sealed wood |
| Odorless Mineral Spirits | Severe / Polymerized | Use undiluted on cloth | 30 to 60 seconds | Safe on cured finishes; test painted wood |
How to Condition and Protect Cabinets After Cleaning
Deep degreasing removes not only cooking grease but also natural moisture from the wood finish. Once the cabinets are clean and bone-dry, apply a wood conditioner containing beeswax and mineral oil (such as Howard Feed-N-Wax).
- Apply a nickel-sized amount of conditioner to a dry microfiber pad.
- Spread evenly over the wood surface following the grain.
- Let the oils penetrate for 20 minutes.
- Buff off all excess product with a clean, dry cloth until the surface feels smooth and non-greasy.
This protective barrier repels future grease droplets, prevents moisture penetration, and makes subsequent cleanings significantly faster.
Preventive Measures to Stop Grease Buildup
- Run the Range Hood: Turn on your exhaust fan on medium-to-high speed 2 minutes before you start cooking with oils and keep it running for 5 minutes after you finish.
- Use Splatter Screens: Place fine-mesh stainless steel splatter guards over frying pans to capture grease aerosols at the source.
- Bi-Weekly Maintenance: Wipe the cabinet doors directly adjacent to and above the stove with a microfiber cloth dampened in warm water and a drop of dish soap every two weeks before oils have time to polymerize.
Frequently Asked Questions
Can I use Dawn Powerwash on wooden kitchen cabinets?
Yes, but with caution. Dawn Powerwash contains alcohol-based solvents and a higher pH than standard dish soap. Spray it onto a damp microfiber cloth rather than directly onto the cabinet. Wipe the grease, rinse immediately with a water-dampened towel, and dry. Do not let it sit on painted or lacquered surfaces for more than 60 seconds.
Will vinegar ruin the finish on my wood cabinets?
Pure or high-concentration vinegar left on wood can break down clear coats over time. However, a 50/50 mixture of 5% distilled white vinegar and warm water used for a quick wipe-down will not harm intact polyurethane or factory-sealed finishes, provided you rinse and dry the surface immediately.
Can I use a Magic Eraser to remove cabinet grease?
No. Melamine foam (Magic Eraser) acts like 3000-grit to 5000-grit sandpaper. While it removes grease quickly, it will abrade the clear coat, leaving a dull, hazy patch that attracts dirt and grease faster in the future.
How do I clean sticky grease off painted wood cabinets?
For painted cabinets, use the warm water and dish soap method. Avoid mineral spirits or harsh acidic cleaners, which can soften latex and acrylic paints. For stubborn spots, use a gentle baking soda paste, rubbing with very light hand pressure to avoid burnishing or removing the paint sheen.
Cleneus is reader-supported. Pages carry display advertising and some outbound product links may earn us a commission, which never changes the methods we recommend. Read our disclosure.