
How to Remove Black Mold Inside Toilet Tank Safely
Learn how to safely remove black mold from your toilet tank using vinegar or hydrogen peroxide without damaging rubber gaskets and plastic valves.
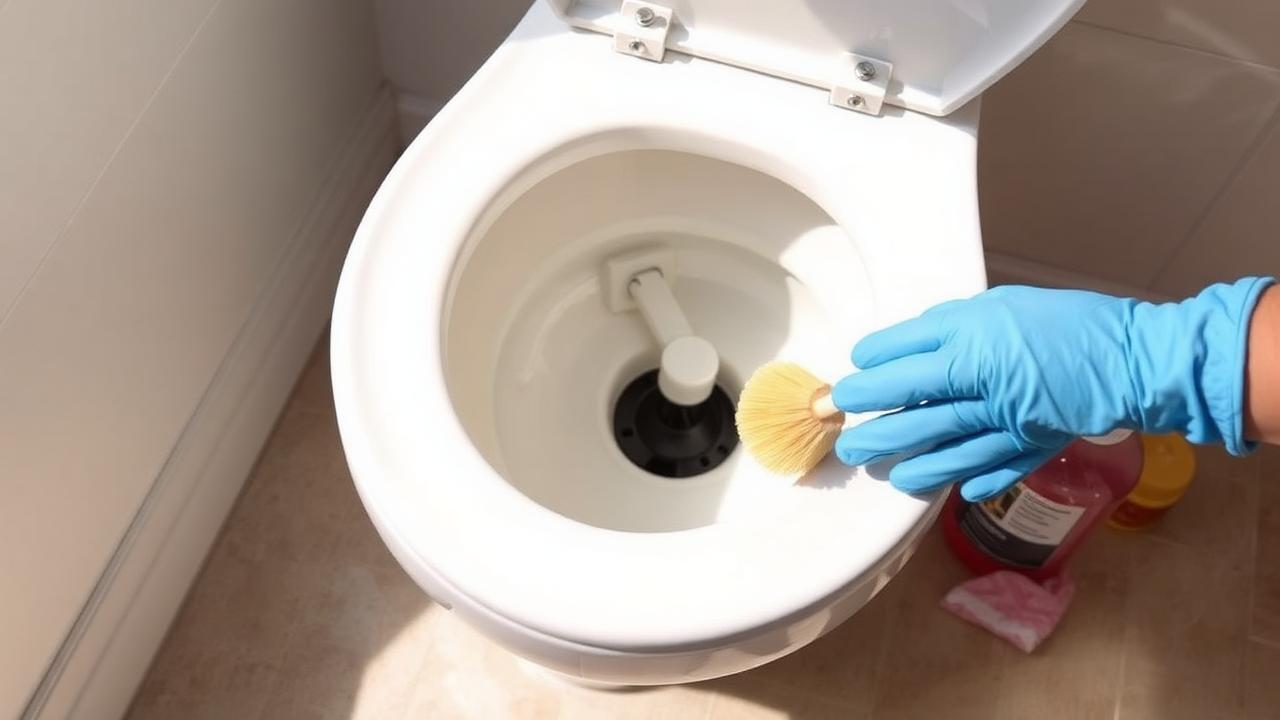
To safely remove black mold inside a toilet tank, turn off the water supply valve behind the toilet, flush the tank completely to drain the water, and use a sponge to soak up any remaining puddle at the bottom. Pour 1 gallon of undiluted distilled white vinegar (5% to 6% acidity) or 3% hydrogen peroxide directly into the empty tank, coating the interior walls, and allow it to sit for 60 to 90 minutes. Scrub the porcelain walls, flapper, overflow pipe, and fill valve with a non-abrasive nylon bristle brush, then turn the water valve back on, let the tank refill, and flush twice to rinse away all loosened spores and debris.
Why Black Mold Colonizes Toilet Tanks
The interior of a toilet tank provides an ideal microclimate for mold growth: darkness, constant high humidity, ambient room temperatures between 65°F and 80°F, and standing water. Mold spores enter the home through open windows, ventilation systems, or on clothing and settle onto the water surface inside the tank. Over time, these spores feed on dissolved organic matter, microscopic dust, and mineral deposits found in municipal and well water supplies. If left untreated, the mold forms a persistent biofilm across the tank liner, rubber flapper, fill valve assembly, and siphon jets.
Safety Gear and Supplies Checklist
Working inside an enclosed porcelain tank containing active mold colonies requires proper personal protective equipment (PPE) and materials that will kill the fungus down to its root structure without corroding delicate internal plumbing components.
Required Safety Gear
- N95 Respirator Mask: Prevents the inhalation of airborne mycotoxins and mold spores during scrubbing.
- Nitrile or Heavy-Duty Rubber Gloves: Shields skin from concentrated cleaning acids and biological pathogens.
- Safety Goggles: Protects eyes from accidental splashes of vinegar, peroxide, or contaminated water.
Required Tools and Cleaning Agents
- Distilled White Vinegar: 1 gallon (undiluted, 5% to 6% acetic acid concentration).
- 3% Hydrogen Peroxide: 1 quart (alternative for severe staining).
- Baking Soda (Sodium Bicarbonate): 1 cup (acts as a mild abrasive for stubborn colonies).
- Nylon-Bristle Tank Brush or Grout Brush: For mechanical agitation without scratching porcelain.
- Old Toothbrush: For cleaning tight crevices around the flush lever linkage and fill valve base.
- Heavy-Duty Cellulose Sponge: For removing residual water at the tank bottom.
- Adjustable Wrench: In case the water shut-off valve is stiff.
Step-by-Step Removal Guide
Step 1: Shut Off Water and Drain the Tank
Locate the oval shut-off valve on the wall behind the toilet base. Turn the valve clockwise until it stops tightly. Remove the porcelain tank lid carefully and place it on a soft towel on the floor to prevent cracking. Press and hold the flush handle until nearly all the water drains out of the tank into the bowl. Use a heavy-duty cellulose sponge to soak up the remaining 1 to 2 inches of standing water at the bottom of the tank, wringing it out into the toilet bowl until the tank floor is completely dry.
Step 2: Apply the Mold-Killing Solution
Pour undiluted distilled white vinegar directly into the empty tank until the liquid reaches just below the top of the overflow tube (typically 1 gallon). Alternatively, fill a spray bottle with pure 3% hydrogen peroxide and thoroughly saturate the mold-covered porcelain walls, float ball, flapper chain, and fill valve column. Vinegar and hydrogen peroxide penetrate porous porcelain surfaces and kill mold roots (hyphae), preventing rapid regrowth.
Important: Avoid using chlorine bleach inside the tank. While bleach removes surface discoloration, its harsh oxidizers dry out and degrade rubber flappers, silicone seals, and plastic intake valves within months, leading to silent, costly tank leaks.
Step 3: Allow Proper Dwell Time
Let the cleaning solution sit undisturbed for a minimum of 60 minutes. For severe, thick black mold infestations, allow a dwell time of 90 to 120 minutes. Acetic acid requires this contact time to break down the protective cellular membrane of mold spores and dissolve the mineral biofilm anchoring the mold to the porcelain.
Step 4: Scrub the Tank Interior
Dip your nylon-bristle brush into the vinegar at the bottom of the tank and scrub the interior walls in circular motions, working from top to bottom. Use the old toothbrush to clean around the rubber flapper seal, the perimeter of the flush valve seat, and the crevices of the fill valve mechanism. For heavy mold crusts, sprinkle 2 tablespoons of baking soda directly onto your brush head to create a light, fizzing abrasive paste that lifts stuck-on residue without scratching the porcelain glaze.
Step 5: Refill and Flush to Rinse
Turn the water supply valve counterclockwise to restore water flow to the tank. Allow the tank to fill completely to its designated water line. Flush the toilet three consecutive times to clear all dislodged mold debris, dissolved minerals, and cleaning residue through the rim jets, siphon jet, and out the waste line. Wipe down the underside of the tank lid with a vinegar-soaked microfiber cloth before replacing it securely onto the tank.
Comparing Tank Cleaning Solutions
| Cleaning Agent | Mold Kill Rate | Plumbing Safety | Dwell Time | Best Application |
|---|---|---|---|---|
| Distilled White Vinegar (5%) | High (~82% of mold species) | 100% safe for rubber and plastic | 60–90 minutes | Standard routine cleaning and deep mold remediation |
| 3% Hydrogen Peroxide | Very High (Kills spores and brightens) | Safe for rubber and plastic | 15–30 minutes | Heavily stained tanks and dark mold crusts |
| Baking Soda + Vinegar Paste | High (Mechanical + chemical action) | 100% safe, non-abrasive | 10–15 minutes | Targeted spot-scrubbing on corners and valve bases |
| Liquid Chlorine Bleach | Surface only (Does not kill roots) | Corrosive to rubber flappers and gaskets | Not recommended | Not recommended for interior tank cleaning |
Preventing Black Mold Regrowth
Once the tank is clean, establish a routine to prevent spores from returning and multiplying:
- Monthly Vinegar Flush: Pour 2 cups of distilled white vinegar into the tank once a month right before going to bed. Let it sit overnight without flushing to sanitize the standing water and prevent biofilm formation.
- Regulate Bathroom Humidity: Run your bathroom exhaust fan during showers and for at least 20 minutes afterward to keep ambient room humidity below 50%.
- Inspect and Replace Old Flappers: Aged, pitted rubber flappers harbor mold in micro-fissures. Replace worn flappers every 3 to 5 years with chlorine- and acid-resistant chlorazone rubber models.
- Avoid In-Tank Chlorine Bleach Pucks: Chemical pucks release concentrated oxidizers that corrode internal brass, plastic, and rubber components, voiding toilet manufacturer warranties and accelerating gasket failure.
Frequently Asked Questions
Can black mold in a toilet tank make you sick?
Yes, black mold inside a toilet tank can trigger allergic reactions, sneezing, skin irritation, and respiratory problems—especially in individuals with asthma, mold sensitivities, or compromised immune systems. Flushing an infested toilet releases aerosolized droplets containing mold spores into the bathroom air.
Why shouldn't I use bleach in my toilet tank?
Liquid chlorine bleach is highly corrosive to the rubber flapper, the tank-to-bowl sponge gasket, and the plastic fill valve seals. Over time, bleach causes these components to become brittle, warp, and crack, resulting in continuous leaks into the bowl. Additionally, bleach only kills surface mold without penetrating porous porcelain to eradicate root structures.
How often should I clean the inside of my toilet tank?
You should inspect and clean the inside of your toilet tank at least twice a year (every 6 months). If your home has high humidity, well water, or a history of recurrent mold growth, clean the tank quarterly using the distilled white vinegar soaking method.
Will cleaning the tank remove mold stains under the toilet bowl rim?
Cleaning the tank eliminates the upstream source of mold spores feeding into the bowl. However, to clear existing mold trapped in the bowl's rim jets, pour 1 quart of warm vinegar directly down the tank overflow pipe using a funnel, let it sit for 60 minutes to dwell inside the rim channel, and then scrub beneath the rim with a curved toilet brush.
Cleneus is reader-supported. Pages carry display advertising and some outbound product links may earn us a commission, which never changes the methods we recommend. Read our disclosure.