
How to Remove Black Slime from Garbage Disposal Splash Guard
Learn how to remove black slime from your garbage disposal splash guard with proven DIY methods, exact ratios, deep-cleaning steps, and prevention tips.
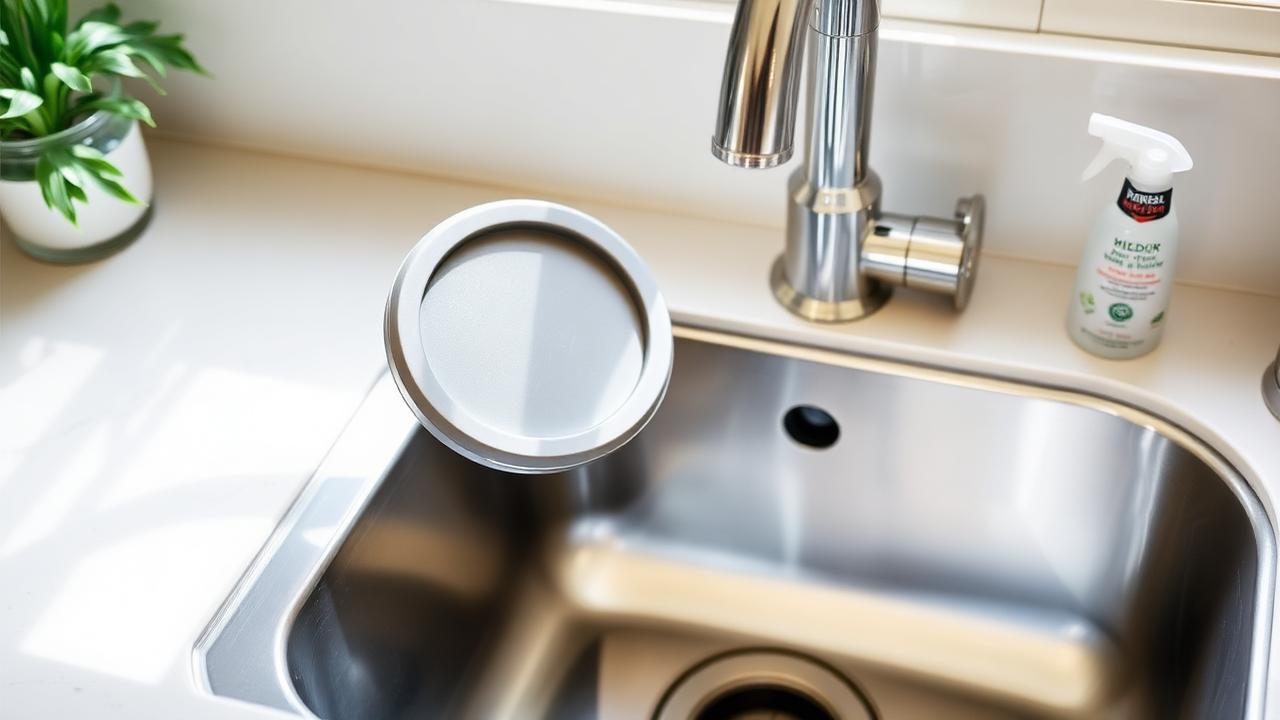
To remove black slime from a garbage disposal splash guard, disconnect the power to the unit, pull up the rubber flaps, and scrub both sides thoroughly using a stiff-bristled brush dipped in a paste made from 1/2 cup of baking soda and 2 tablespoons of concentrated liquid dish soap. Rinse the residue with hot tap water (at least 140°F / 60°C). For stubborn mold and biofilm, remove the rubber baffle entirely and soak it for 10 minutes in a solution of 1 part standard 5% unscented household bleach to 9 parts warm water before reinstalling.
What Is the Black Slime on Your Disposal Flaps?
The black substance clinging to the underside of your garbage disposal splash guard (also known as a rubber baffle) is a biological accumulation known as biofilm. This sticky matrix forms when bacteria, microscopic mold spores, yeast, decomposing food solids, and aerosolized cooking fats attach to the porous rubber surface of the baffle.
Because the underside of the splash guard stays dark, humid, and frequently coated in organic food waste, it creates the ideal microenvironment for bacterial colonies like Pseudomonas and black fungal molds. When left untreated, this biofilm produces sulfur-like odors and can contaminate dishes, sponges, and food prep areas in your sink basin.
Essential Cleaning Supplies and Safety Prep
Before scrubbing, gather the proper chemical agents and mechanical cleaning tools to ensure complete removal of the biofilm without damaging the rubber or disposal blades:
- Protective Gear: Heavy-duty rubber gloves and eye protection.
- Chemical Cleaners: 1/2 cup baking soda (sodium bicarbonate), 1 cup distilled white vinegar (5% to 6% acetic acid), and 2 tablespoons degreasing liquid dish soap.
- Disinfectant (Optional for extreme mold): 1/4 cup standard household chlorine bleach (5.25% to 8.25% sodium hypochlorite).
- Abrasive Tools: A designated bottle brush, an old toothbrush, or a stiff-bristled nylon utility brush.
- Mechanical Cleansers: 2 cups of solid ice cubes and 1 cup of coarse kosher salt or rock salt.
- Safety Precaution: Turn off the circuit breaker powering the disposal unit or unplug the power cord directly beneath the sink before placing your fingers near the sink throat.
Method 1: The In-Place Underside Scrub (Quick Routine)
If your disposal splash guard is non-removable or integrated into the sink collar mounting ring, use this in-place manual agitation technique.
Step 1: Cut the Electrical Power
Verify the garbage disposal switch is in the "Off" position. Locate the electrical plug under the sink cabinet and disconnect it from the wall outlet, or switch off the dedicated breaker at your main electrical panel.
Step 2: Apply the Cleaning Paste
Mix 1/2 cup of baking soda with 2 tablespoons of degreasing dish soap until a thick, gritty paste forms. Scoop the paste onto an old toothbrush or a stiff nylon brush. Reach into the drain opening and use your fingers (wearing heavy rubber gloves) to flip one rubber flap upward, exposing its slimy underside.
Step 3: Scrub Each Flap Individually
Work clockwise around the splash guard collar. Scrub the underside and top surface of each rubber flap, paying close attention to the deep grooves, hinges, and the junction where the rubber meets the metallic sink flange. Dip your brush repeatedly in vinegar or warm water to activate the baking soda into an effervescent foam that lifts embedded grease.
Step 4: Flush with High-Temperature Water
Reconnect power. Turn on the hot water faucet to its highest temperature (around 120°F–140°F) and let it run for 60 seconds directly through the center of the baffle to wash all detached slime into the grinding chamber.
Method 2: Deep Soaking a Removable Splash Guard
Many modern disposal brands (such as InSinkErator, Moen, and Waste King) feature drop-in, removable rubber splash guards. Pulling the baffle out allows you to sterilize every hidden crevice.
Step 1: Extract the Rubber Baffle
Pinch the center of the rubber collar firmly and pull straight upward. The outer rim will compress and pop out of the sink mount groove. If it resists, work your fingers around the perimeter to roll the outer lip inward.
Step 2: Submerge in a Bleach Disinfectant Bath
In a small bucket or stainless steel bowl, prepare a sanitizing solution containing 1/4 cup of unscented household bleach mixed into 2.25 cups of warm water (a 1:9 dilution). Submerge the rubber splash guard completely and set a timer for 10 minutes. This chemical contact time kills mold spores and breaks the organic bonds of the biofilm.
Step 3: Scrub the Rim and Underside Folds
Remove the baffle from the solution and scrub both sides with a stiff utility brush. The black slime will rinse away effortlessly. Clean inside the annular ring (the groove that locks into the disposal neck), as slime frequently collects in this channel.
Step 4: Scrub the Metal Disposal Neck
While the baffle is soaking, use your brush dipped in hot soapy water to clean the upper metal lip of the disposal housing inside the sink drain opening, where black residue transfers onto the sink walls.
Step 5: Rinse and Reinstall
Rinse the rubber guard with cold running water. Fold the edges inward, press it back into the metal throat of the disposal, and push downward around the circumference until the lip snaps firmly into its retaining groove.
Method 3: The Ice, Salt, and Citrus Blade Flush
Black slime on the splash guard is often propelled upward from the upper grinding chamber during operation. Purge the disposal chamber directly beneath the baffle using abrasive friction.
Step 1: Load the Chamber
Pour 2 cups of solid ice cubes directly into the disposal opening, followed immediately by 1 cup of coarse kosher salt or rock salt. The ice and salt slurry creates physical abrasion that scrapes biological film off the impellers, shredder ring, and the bottom lip of the rubber baffle.
Step 2: Run the Disposal with Cold Water
Turn on the cold water faucet to a medium stream. Turn on the disposal switch and let the machine run for 30 to 45 seconds until the grinding sound subsides. Always use cold water during this process to solidify any fats or oils so the blades can chop and expel them.
Step 3: Finish with Citrus Deodorization
Cut one whole lemon or lime into quarters. Drop the wedges into the disposal one at a time with the cold water running. The citric acid provides mild antimicrobial action, while natural citrus oils coat the interior with a clean scent.
Splash Guard Cleaning Methods Compared
| Cleaning Method | Best For | Required Supplies | Time Required | Effectiveness on Biofilm |
|---|---|---|---|---|
| In-Place Scrub | Fixed splash guards & quick maintenance | Baking soda, dish soap, toothbrush | 5 minutes | Moderate (removes 85% of visible slime) |
| Removable Bleach Soak | Heavy mold, recurring foul odors | Household bleach, warm water, nylon brush | 15 minutes | Maximum (kills 99.9% of bacteria and mold) |
| Ice & Salt Scour | Cleaning disposal blades and lower baffle lip | 2 cups ice, 1 cup rock salt, cold water | 2 minutes | High (removes grease and physical debris) |
| Vinegar & Baking Soda Foam | Mild odors and surface freshening | 1/2 cup baking soda, 1 cup vinegar | 10 minutes | Low-to-Moderate (surface deodorizer only) |
How to Prevent Black Slime from Returning
Maintain an environment that inhibits bacterial colonization by integrating these habits into your kitchen routine:
- Run Cold Water for 15 Extra Seconds: After the food waste is completely ground up, leave the disposal and cold water running for an additional 15 to 20 seconds. This flushes lingering food micro-particles past the sink trap and prevents them from splashing onto the baffle.
- Weekly Flap Lift and Rinse: Once a week, spray high-pressure hot water directly under the flaps while running the disposal to dislodge fresh food residue before it congeals into biofilm.
- Avoid Starchy and Fibrous Traps: Never put large amounts of potato peels, pasta, rice, or fibrous celery down the drain; these leave thick, starchy residues that adhere to the rubber.
- Monthly Dishwasher Run: If your splash guard is removable, place it on the top rack of your dishwasher once a month and run a normal wash cycle with a heated drying phase.
Frequently Asked Questions
Is the black slime in the garbage disposal hazardous to health?
While incidental skin contact with standard disposal biofilm is unlikely to cause severe illness in healthy individuals, it contains dense colonies of bacteria (such as E. coli and Salmonella) alongside mold species. If splash-back droplets land on clean dishes, eating utensils, or food preparation surfaces, cross-contamination can occur. Always wear gloves during removal.
Can I use boiling water to clean my splash guard?
Avoid pouring boiling water (212°F / 100°C) directly onto rubber splash guards or into garbage disposals. Boiling water can warp or soften certain rubber compounds over time, potentially melting the seals inside the disposal housing and loosening PVC pipe joints underneath the sink. Use hot tap water (120°F to 140°F) instead.
Why does the black slime come back so quickly?
Black slime returns rapidly if only the visible surface of the rubber is wiped clean while the underside, mounting ring, or upper disposal chamber remains coated in mold spores. If the root biofilm is not killed using a targeted disinfectant like a 1:9 bleach solution or concentrated hydrogen peroxide, the surviving bacterial colony will regenerate within 7 to 14 days.
Can I replace the splash guard if it is cracked or permanently stained?
Yes. Universal replacement splash guards cost under $10 and are readily available online and at home improvement retailers. If your rubber baffle has become brittle, torn, warped, or permanently permeated by mold odors, pull out the old unit and press a new rubber collar firmly into the sink collar flange.
Cleneus is reader-supported. Pages carry display advertising and some outbound product links may earn us a commission, which never changes the methods we recommend. Read our disclosure.