
How to Clean Grout in Shower Tiles: A Step-by-Step Guide
Learn how to clean grout in shower stalls effectively using simple household ingredients and proven methods to eliminate grime, mold, and soap scum.
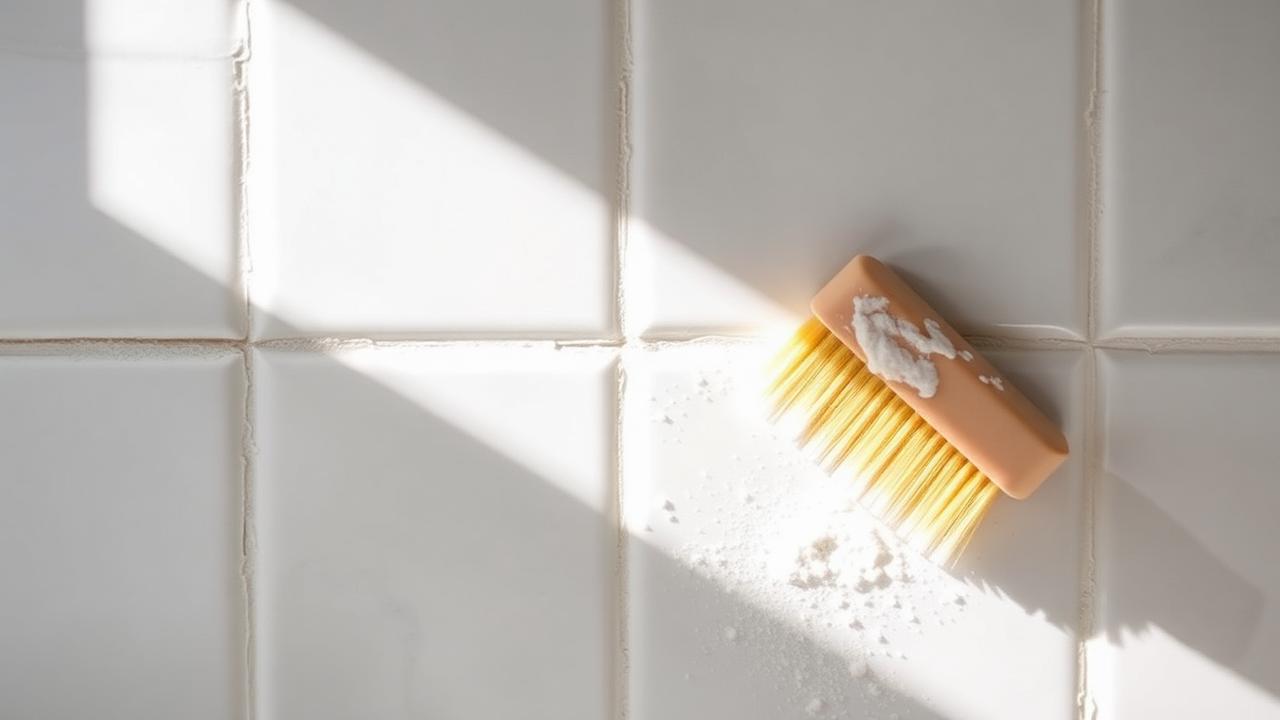
To clean grout in your shower quickly and effectively, mix two parts baking soda with one part hydrogen peroxide to create a thick cleaning paste. Apply this paste directly onto the grout lines, let it sit for 10 to 15 minutes to lift embedded dirt, scrub firmly with a stiff-bristled brush, and rinse thoroughly with warm water. For routine maintenance and minor buildup, a simple 1:1 mixture of warm water and white vinegar also works wonders on ceramic and porcelain tile.
Why Shower Grout Gets Dirty So Quickly
Grout is fundamentally a porous cement-based mixture that fills the spaces between your tiles. Because it absorbs moisture easily, it acts like a sponge for everything introduced into your shower. Over time, several factors cause grout lines to discolor and deteriorate:
- Soap scum accumulation from body washes, shampoos, and bar soaps that leave behind fatty residues.
- High humidity and lingering moisture that create a breeding ground for black mold, mildew, and pink bacteria.
- Hard water minerals such as calcium, magnesium, and iron that leave chalky white or rust-colored stains.
- Trapped body oils, dead skin cells, and dirt particles that settle deep into the unsealed pores of the grout.
Essential Supplies for Cleaning Shower Grout
Before you begin scrubbing, gather the right tools and cleaning agents. Having everything prepared ensures an efficient cleaning process without unnecessary interruptions.
- Baking soda: A natural, mild abrasive that scrubs away grime without scratching tile surfaces.
- Hydrogen peroxide (3 percent concentration): A safe, non-toxic alternative to chlorine bleach that naturally brightens grout and kills mold spores.
- Stiff-bristled grout brush or an old, firm toothbrush: Essential for agitating deep within the narrow recessed lines.
- Spray bottle: Useful for applying liquid cleaning solutions evenly across large vertical areas.
- Microfiber cloths or non-abrasive sponge: For wiping down tile surfaces and drying the walls.
- Rubber gloves: To protect your hands from drying out during extended cleaning sessions.
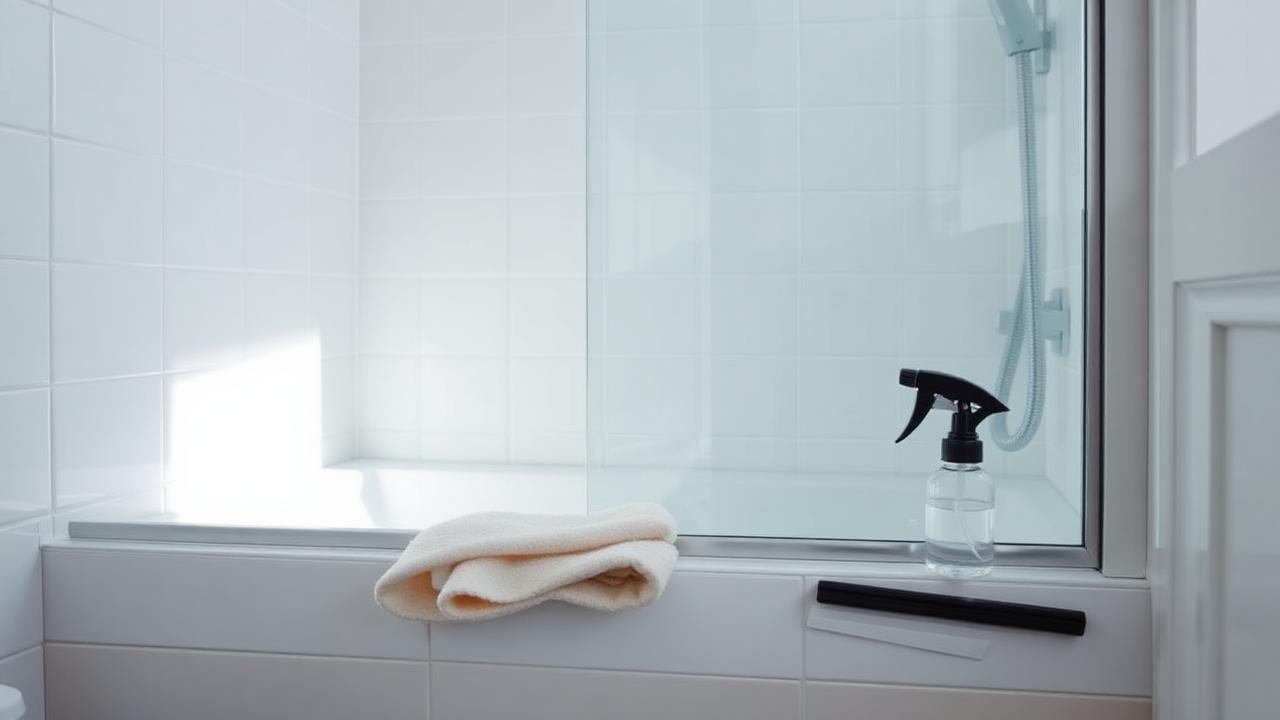
Step-by-Step Guide: How to Clean Grout in Shower Stalls
Follow these steps to deep clean your shower grout and restore its original color without damaging your tile or grout lines.
1. Prep the Shower Area
Start by removing all shampoo bottles, soaps, loofahs, and razors from the shower shelves and ledges. Turn on the hot water for two minutes to let the steam open up the pores of the grout and loosen surface residues. Spray the entire shower surround with warm water to rinse away loose debris.
2. Apply Your Cleaning Solution
Mix your baking soda and hydrogen peroxide in a small bowl until it reaches the consistency of thick frosting. If you are dealing with greasy soap scum, add a teaspoon of liquid dish soap to the mixture. Use a spoon or your gloved fingers to spread the paste generously along all dirty grout lines, ensuring full coverage on both vertical walls and shower floors.
3. Let the Cleaner Dwell
Patience is the secret to easy grout cleaning. Allow the paste to sit undisturbed for at least 10 to 15 minutes. During this dwell time, the hydrogen peroxide releases oxygen bubbles that penetrate deep into the grout pores, lifting dirt, breaking down soap scum, and neutralizing active mold colonies from the inside out.
4. Scrub the Grout Lines
Take your stiff-bristled grout brush and scrub along the grout lines using firm, targeted back-and-forth motions. Pay extra attention to corners, base lines near the shower pan, and areas directly beneath soap dishes where buildup is heaviest. Avoid using circular motions with excessive force, as this can wear down older or brittle grout.
5. Rinse and Inspect
Rinse the shower walls thoroughly using your handheld showerhead or a bucket filled with warm water. Wipe down the entire tile surface with a clean microfiber cloth to remove any remaining baking soda residue. Inspect the grout lines closely; if heavy stains remain, apply a second round of paste directly to those stubborn spots.
Best Methods for Heavy Mold, Mildew, and Deep Stains
If your shower grout has not been deep cleaned in months, standard paste may not completely remove deeply embedded discoloration. In these cases, stronger methods are required:
- Oxygenated bleach powder: Mix oxygen bleach powder with warm water according to package directions. Apply the solution to the grout and let it sit for up to 30 minutes before scrubbing. Unlike chlorine bleach, oxygen bleach does not degrade the structural integrity of grout over time.
- Handheld steam cleaner: High-temperature steam breaks down soap scum, melts body oils, and sterilizes mold spores instantly without chemical fumes. It is an ideal method for chemical-sensitive households.
- Commercial enzymatic grout cleaner: Specially formulated enzyme cleaners break down organic matter and hard water deposits safely, making them excellent for tough restoration jobs.
What to Avoid When Cleaning Shower Grout
Using the wrong tools or chemicals can cause permanent damage to your grout and tiles. Keep the following precautions in mind:
- Never use metal or wire brushes, as they will scratch glazed tiles and gouge out grout chunks.
- Never use acidic cleaners like vinegar or lemon juice on natural stone tiles, including marble, travertine, granite, or slate, as acid etches and dulls the stone surface.
- Avoid frequent use of undiluted chlorine bleach, which can weaken grout binders over time, causing it to crumble and crack.
- Do not mix ammonia and bleach together under any circumstances, as this produces hazardous, toxic chloramine gas.
How to Keep Shower Grout Clean Longer
Once your shower grout is clean, adopting simple daily and weekly maintenance habits will prevent dirt and mold from returning.
- Squeegee the walls after every shower to remove standing water and reduce moisture levels.
- Run your bathroom exhaust fan during showers and leave it on for 20 minutes afterward to eliminate excess humidity.
- Keep the shower door or curtain slightly open after use to improve airflow and facilitate rapid drying.
- Apply a high-quality penetrating grout sealer once every six to twelve months to create an invisible waterproof barrier that locks out stains and moisture.
Conclusion
Cleaning shower grout does not require harsh industrial chemicals or hours of backbreaking labor. By using the right combination of baking soda and hydrogen peroxide, allowing adequate dwell time, and using proper brushing technique, you can restore your grout lines to their original brightness. Regular rinsing and annual sealing will ensure your shower remains fresh, clean, and mold-free for years to come.
Cleneus is reader-supported. Pages carry display advertising and some outbound product links may earn us a commission, which never changes the methods we recommend. Read our disclosure.